
An IR Corrected Lens is designed to keep focus more consistent as illumination shifts between visible and infrared wavelengths. That matters when a camera works through the day, then relies on infrared lighting after dusk. A sharp daytime image can become soft at night if the lens is not corrected for both ranges. The difference may be subtle on a specification sheet, but obvious in fine detail: a fence wire, a face, or lettering across a parking area.
Choosing the right lens involves more than matching a mount. This guide examines seven practical points: wavelength range, sensor size, focal length, aperture, focus behavior, image quality, and operating conditions. Check the actual IR band your system uses, such as 850 or 940 nanometers, rather than relying on a general “day/night” label. Confirm that the lens covers the sensor, and test focus under the lighting conditions you expect. A small mismatch can matter.
A useful expert quotation would help ground this advice, but no source article or verifiable quotation was provided. I won’t invent an expert’s name or words. For a reliable buying decision, compare manufacturer specifications with sample images or a controlled test using your camera and illuminator. Specs are helpful. Real scenes can still surprise you. The best choice depends on your working distance, lighting, and tolerance for edge softness—not on a product label alone. A careful check before purchase can prevent costly refocusing or replacement later.
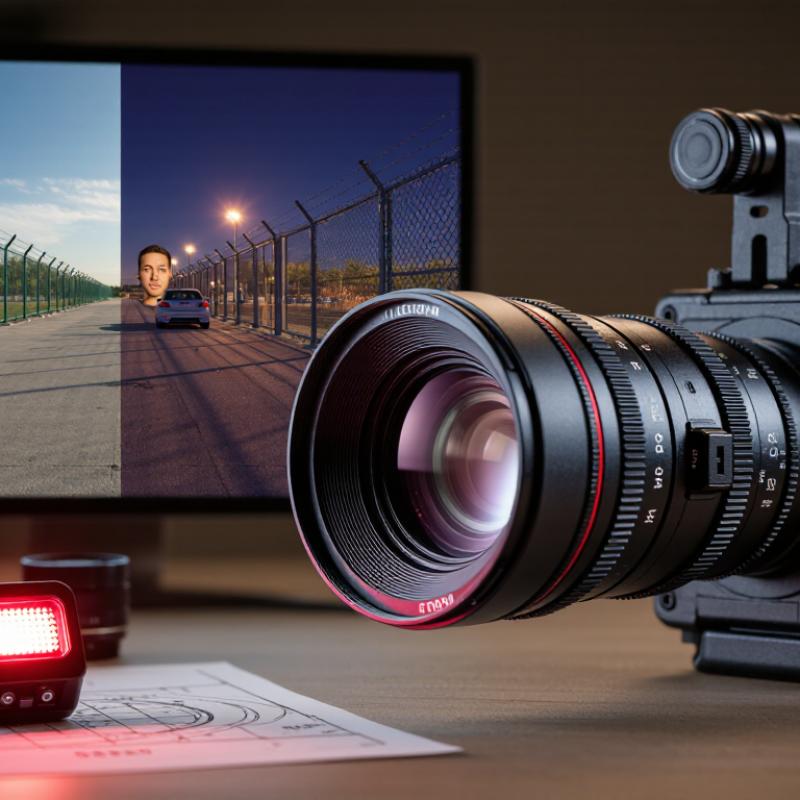
IR correction means a lens maintains focus across visible and infrared wavelengths, not merely that it transmits infrared light. A visible-only lens may shift focus when illumination changes, softening edges in a monochrome night image. NASA Earth-observation references place near-infrared at roughly 0.7–1.0 μm and shortwave infrared at about 1.0–3.0 μm. These ranges are broad; confirm the exact wavelengths your camera and illuminator use. Small detail. Big difference.
Define the scene before comparing lenses: sensor type, wavelength band, working distance, field of view, aperture, and required detail. A silicon sensor and an InGaAs sensor do not cover the same spectral range, so “IR compatible” alone is too vague. EMVA 1288 Release 4.0 provides standardized camera measurements, including spectral response, quantum efficiency, and temporal dark noise. Use those figures with the lens transmission curve, rather than relying on a product label. I have seen focus judged on a bright test chart, then disappoint in dim, off-axis scenes. That test misses real conditions. Check focus at your actual working distance and aperture, and allow time for a practical trial.

An IR corrected lens is designed to reduce focus shifts between visible and infrared light. Before comparing focal lengths, confirm that its mount matches your camera body. The mount controls physical attachment and often affects flange distance, the space between the lens and sensor. Adapters can help, but they may change focusing range or add play. A loose fit is not a small detail.
Check the image circle against your sensor size. A lens made for a smaller sensor may produce dark corners or a circular image on a larger one. A larger image circle can cover a smaller sensor, though you may use only its central area. Sensor size also affects framing: the same focal length gives a narrower view on a smaller sensor. Measure your setup, not just the lens label.
Then verify camera compatibility beyond the mount. Review supported sensor formats, electronic aperture control, autofocus needs, and the camera’s intended infrared wavelength range. Some systems need manual focus or exposure settings, especially with filters that block visible light. Test focus at the working distance and aperture you expect to use. A chart taped to a wall helps reveal softness at the edges. Specifications can be incomplete, and I would not assume an adapter solves every issue; confirm fit and focus with the seller or a practical test before relying on the lens.
Tip 1: Match focal length to the scene, not just the camera mount. A 25 mm lens may frame a small inspection area from a fixed working distance, while a wider lens captures more but can stretch details near the edges. Check the sensor size and field of view together. A quick bench test beats a guess.
Tip 2: Choose aperture for both light and detail. At 850 nm, an IR-corrected lens helps keep focus aligned when switching from visible light, but aperture still affects depth of field and exposure. EMVA 1288 Release 4.0 describes sensor measurements such as sensitivity and temporal dark noise; use those data when deciding whether a slower aperture will produce usable images. More light is not always sharper.
Tip 3: Check the focus range at your actual working distance. If the subject sits 300 mm away, confirm that distance falls inside the lens’s focus specification. CIPA’s 2023 shipment report recorded about 7.73 million digital cameras shipped worldwide, but it does not isolate IR-corrected lenses. Treat that figure as camera-market context, not evidence of IR demand. Test the chosen lens with your sensor and illumination; small focus errors can persist.
| 7 Tips for Buying an IR Corrected Lens - Choose the Right Focal Length, Aperture, and Focus Range | |||
|---|---|---|---|
| Tip | What to Check | Practical Reference | Why It Matters |
| 1. Match focal length to the scene | Choose focal length based on sensor size, camera distance, and the width of the area you need to capture. | Common fixed focal lengths include 4 mm, 6 mm, 8 mm, 12 mm, 16 mm, and 25 mm. Shorter focal lengths generally show a wider scene from the same position. | A suitable focal length helps fill the frame with the target while avoiding unnecessary cropping or excessive background. |
| 2. Confirm sensor-format coverage | Check that the lens image circle covers the camera sensor format and that the mount is compatible. | Compare the lens’s specified maximum sensor format with the camera’s format, such as 1/2.3-inch or 1/1.8-inch. | Insufficient image-circle coverage can cause dark corners or vignetting; mount and flange specifications affect physical compatibility. |
| 3. Select an appropriate maximum aperture | Compare the maximum aperture, expressed as an f-number, with available light and the required depth of field. | An f/1.4 aperture is wider than f/2.8 and can transmit more light, all else being equal. | A wider aperture can support shorter exposures or lower illumination, but usually reduces depth of field and may make focus more critical. |
| 4. Verify infrared correction by wavelength | Check the lens’s specified operating wavelength range and whether it is designed to maintain focus across the visible and intended near-infrared bands. | Near-infrared applications commonly use illumination around 850 nm or 940 nm. Confirm that the selected lens is specified for the wavelength used. | Ordinary lenses can shift focus as wavelength changes. IR correction is wavelength-dependent and does not guarantee identical performance at every wavelength. |
| 5. Check the focus range and minimum object distance | Make sure the lens can focus at the closest and farthest working distances in your setup. | For close-up inspection, compare the stated minimum object distance with the camera-to-target distance; for distant scenes, confirm infinity focus is supported. | A target outside the focus range cannot be brought into sharp focus without changing the lens, camera position, or optical arrangement. |
| 6. Match resolution to the sensor and task | Review the lens’s supported sensor resolution or spatial-frequency performance, especially if fine details must be resolved. | Compare lens performance with the camera’s pixel size and resolution; assess sharpness across the image, not only at the center. | A lens that cannot resolve the required detail may limit the useful image quality even when paired with a high-resolution sensor. |
| 7. Test focus under the actual lighting conditions | Evaluate focus with the intended visible or IR illumination, working distance, aperture, and any protective window or filter installed. | Capture test images at the center and corners using the production camera settings and the intended IR wavelength. | Real-system testing can reveal focus shifts, vignetting, reflections, or edge softness that may not be apparent from a lens specification alone. |
An IR-corrected lens should hold useful detail in both visible and near-infrared light, not merely produce a sharp-looking daytime image. Tip 1: Test the same target under visible and infrared illumination. Tip 2: Check focus separately at each wavelength. The USGS Landsat 8 Data Users Handbook places the OLI red band at 0.64–0.67 μm and its near-infrared band at 0.85–0.88 μm. These ranges offer practical test points, though they do not represent every camera system.
Tip 3: Compare fine lines or a slanted-edge chart at the center and corners. Tip 4: Look for contrast loss, color fringing, and edge softness. Tip 5: Repeat at the aperture you expect to use. A lens can look crisp at the center and disappoint near the edges. Small details matter. Use a stable mount and consistent exposure; changing illumination can disguise real differences.
Tip 6: Check whether focus shifts when switching filters or light sources. Tip 7: Review results at full resolution, not only on a small display. Record the wavelength, aperture, focus position, and lighting for each test. A monochromatic source is useful, but its narrow band may not predict performance across a wider IR range. I would not treat one test chart as proof; real scenes can still behave differently.
Compare center-field MTF at 50 lp/mm across representative visible and near-infrared wavelengths. Higher values indicate better contrast at this spatial frequency. The example values are illustrative, not product specifications.
When evaluating a lens, request MTF or resolution results at the wavelengths you will actually use. Compare lenses with the same sensor, aperture, focus procedure, and test conditions; refocus at each wavelength if that reflects your application.
An IR-corrected lens is designed to keep focus consistent across specified visible and infrared wavelengths. Check the stated spectral range against your sensor and illumination; “IR corrected” alone does not tell you how far into infrared it performs. Look for measured focus or resolution data, not just a general claim. A sharp center is not proof of even performance; corners may still soften. That detail is easy to miss.
Tips: Inspect the lens housing, mount, and focus ring. A snug mount and smooth, repeatable adjustment help during installation. Check whether the lens holds focus after refocusing from visible to infrared light. Small details matter.
Match operating conditions to the lens specification. Temperature changes, vibration, working distance, and lighting can affect image quality. If possible, test a sample with your camera, using the actual target distance and infrared source. Test before committing. Compare the full cost, not only the purchase price: include filters, mounting parts, setup time, recalibration, and possible replacement if the required wavelength falls outside the lens’s range. A cheaper option may be sensible for occasional inspection, but continuous use can make durability and stable focus more valuable. I would still leave room for a real-world test; specifications rarely capture every setup.