Why Choose a Laser Etching Machine for Your Business?
A laser etching machine can turn a plain product into a clearly identified, branded, or traceable item. Picture a serial number etched onto a metal tool or a small logo marked on a coated enclosure. The mark is precise, and the process can suit repeatable production. But the right machine depends on your materials, product sizes, and daily workload. Small details matter.
Laser pioneer Theodore H. Maiman is often credited with saying, “The laser is a solution looking for a problem.” For a business, that is a useful caution: choose the machine to solve a real production need, not simply because the technology looks impressive. A fiber laser may suit many metals, while CO2 systems are commonly used for materials such as wood and some plastics. Results still depend on the specific material and finish, so test representative samples before committing.
This guide explores where a laser etching machine can add value, what to assess before buying, and which ongoing costs deserve attention. Consider marking speed, work-area size, software, maintenance, and suitable fume extraction. Ask vendors for sample marks using your actual parts. Then inspect the contrast, legibility, and consistency under ordinary workplace lighting. A test can expose a mismatch early. It may not answer everything, either: operator training and workflow changes also take time. Careful comparison helps businesses make a practical, evidence-based choice rather than relying on impressive demonstrations alone.
How Laser Etching Works: Beam Focus, Heat, and Surface Change
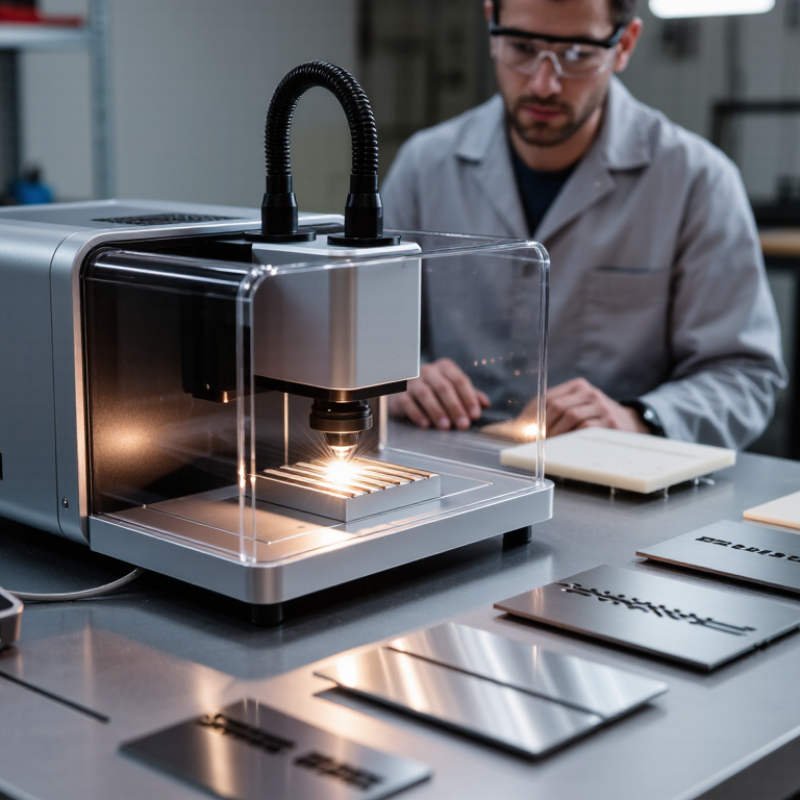
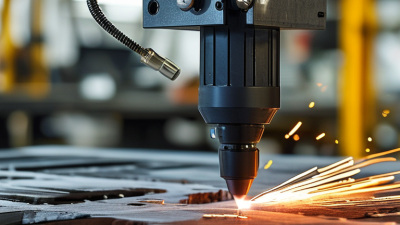
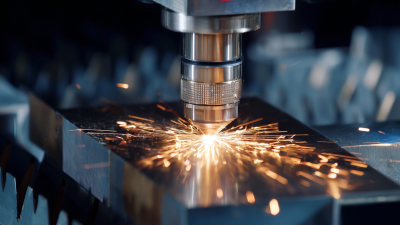
A laser etching machine directs a concentrated beam onto a material’s surface. Its optics focus the light into a small spot, where energy becomes heat. The beam moves along a programmed path, leaving marks such as text, codes, or fine lines. The focus matters. A slightly different distance can soften edges or make a mark uneven.
Heat changes the surface in different ways. On coated metal, the beam may alter or remove a thin coating, revealing contrast beneath it. On some plastics, it can create a darker mark; on wood, it may leave a light or dark trace. Results depend on the material, coating, beam speed, power, and focus. There is no universal setting, even when two sheets look identical.
For a business, this control can support repeatable product labels and small custom details. A technician can inspect a test mark under ordinary workshop lighting, then adjust settings before a full run. Small tests matter. Excessive heat may discolor nearby areas, while insufficient energy can produce faint marks. Even careful setup needs review: material batches vary, and a clean-looking sample does not guarantee every production piece will match.
Why Choose a Laser Etching Machine for Your Business? - How Laser Etching Works: Beam Focus, Heat, and Surface Change
| Material or Process | How the Focused Beam Works | Typical Surface Change | Common Business Uses | Practical Selection Consideration |
|---|---|---|---|---|
| Beam focus | A lens concentrates laser energy into a small spot. The focused spot’s size and energy density affect mark detail and the amount of material or coating changed. | A narrower, correctly focused spot can produce finer details; an incorrectly focused beam may create a wider, less consistent mark. | Small text, serial numbers, logos, and detailed graphics. | Choose a working area and focusing setup suited to the size, shape, and thickness of the items being marked. |
| Heat and exposure | Laser energy is absorbed by the surface and converted to heat. Power, pulse settings, scan speed, and repeated passes influence the energy delivered. | Depending on the material, the surface may be removed, discolored, oxidized, foamed, or locally fractured. | Product identification, traceability codes, and decorative marking. | Test settings on sample material: excessive heat can cause charring, distortion, cracking, or unwanted color changes. |
| Anodized aluminum | The beam can change or remove the dyed anodized layer without necessarily engraving deeply into the aluminum beneath it. | A contrasting mark often appears where the coating’s appearance changes or the underlying metal is exposed. | Labels, control panels, equipment tags, and customized products. | Results depend on coating color, thickness, and laser settings. Test the specific coated part before production. |
| Bare steel | A suitable laser can heat the surface to create a visible mark; settings intended for material removal can also produce an engraved recess. | Marks may result from surface oxidation or from removal of material. These are different processes and can have different appearance and depth. | Tools, components, nameplates, and part-tracking codes. | Confirm whether the requirement is a surface mark or a measurable recess; laser type and settings affect the achievable result. |
| Wood | Absorbed energy heats the surface and can remove or char material. | Engraved areas commonly appear darker, but contrast varies with species, grain, moisture, and finish. | Signs, gifts, packaging, and personalized wooden goods. | Natural variation can lead to inconsistent color. Use ventilation and test finished or coated pieces before processing. |
| Acrylic | With a compatible laser and material, the beam can remove material from the surface; some acrylic formulations respond differently from others. | Engraved areas may appear frosted or textured. Appearance depends in part on whether the acrylic is cast or extruded. | Displays, signs, panels, and awards. | Check the material supplier’s processing guidance and verify the result on a sample. Not every plastic is suitable for laser processing. |
| Glass | Laser heating can create localized surface stress and microscopic surface changes rather than a deep, clean cut. | The marked area commonly appears frosted. Excessive or unsuitable processing can cause chipping or cracking. | Glassware, decorative panels, and identification marks. | Use material-specific settings and test first; glass composition, thickness, and shape affect the risk of damage. |
| Machine choice for a business | Laser source, wavelength, power, motion system, and focusing optics determine which materials and mark types can be processed effectively. | A properly matched system can provide repeatable marks without inks or physical cutting tools, but results remain material- and setup-dependent. | Batch personalization, product identification, and repeatable part marking. | Compare material compatibility, required mark depth, item size, production volume, extraction needs, and sample results before purchase. |
Note: “Etching” is often used broadly for laser marking and engraving. The actual surface change depends on the material, laser source, focus, and processing settings; always test representative samples and follow material-safety guidance.
Related Posts
-
Top 10 Laser Etching Machines for Global Buyers?
-
Why Choose a Laser Marking Machine for Your Business?
-
2026 Best Laser Machine Options for Global Buyers?
-
7 Best Alpha Laser Machines for Global Buyers?
-
Best Laser Marking Machines for Efficient Manufacturing Solutions?
-
Unlocking Precision in Manufacturing with Laser Marking Machines and Their Impact on Production Efficiency